Customer/Vendor Transactions
In most businesses,we come across the situation where a vendor is become a customer to us and vice versa. In these types of cases, the business needs demands us to consolidate the customer and vendor activity so that the statements reflect true and fair view of the transaction activity. Dynamics GP provides standard functionality to take care of Customer/Vendor Consolidation.
Features of Customer/Vendor Consolidations include:
1. Auto Create Vendors and Customers
2. Consolidate balances in Payables or Receivables for a single company
3. Assign Relationships between existing customers and vendors
4. Easily Track the Consolidations using Cross-Module Link
5. Vendor Balances and Customer Balances can be consolidated including National Account Customers
6. All Open Payables/Receivables debit &credit documents can be applied against each other to consolidate the current balances
Setting up Customer/Vendor Consolidations is quite easy to start with.
1. Assign a Suspense Account that will act as an offset account between the Receivables and Payables
2. Assign Default Vendor and Customer Classes to be mapped when a vendor or customer is auto-created using Customer/Vendor Maintenance
3. Map the Vendor and Customer Relationship
I.Setup the Customer/vendor Consolidation in Administration => Setup => Company => Customer/Vendor Setup

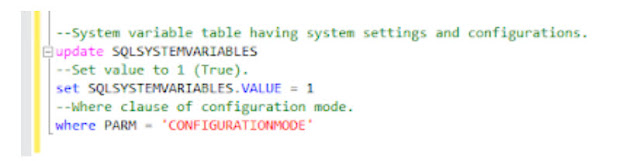
In the setup, Provide the Default Suspense Account that can be a posting account or an allocation account. This account is used whenever the customer/vendor transactions are posted as offset account.
In the ID option, we have two options. Vendor ID = Customer ID or Vendor ID = Next Default Vendor ID and vice –versa. Remember these options are available only if Auto-create Customers/vendors is marked.
II.Now, We can go to Purchasing => Cards => Customer/Vendor or Sales => Cards => Customer/Vendor and setup the Relationship between Customers and Vendors. For our example, Assume we have Customer – 00ABC who is also vendor to us. Once we enter 00ABC in Customer ID, Click Create Vendor, Vendor ID – 00ABC will be auto-created.

III.Now, Assume, we have two transactions, one in payables for $1000 for the Vendor 00ABC, another in Receivables for $1000 for the Customer 00ABC. Now, we can consolidate the same using Customer/Vendor Transactions. (Sales => Transactions => Customer/Vendor Transactions)

Once the Customer ID 00ABC is entered and select the Consolidate Documents, it’ll list all transactions for 00ABC that includes both Payables and Receivables. If Transfer to Payables is selected, Only the Receivables transactions would be displayed and If Transfer to Receivables is selected, only Payables transactions would be displayed. Now, once the consolidate option is selected and required documents are marked and posted, it’d update both Receivables and Payables documents with the prefix mentioned in Setup.
Default Distributions for invoices consolidation would be as follows
In RM Module:
Default Suspense A/c Dr $1000
To Accounts Receivable A/c $1000
In PM Module:
Accounts Payable A/c Dr $1000
To Default Suspense A/c $1000
Now, We can go to Purchasing => Inquiry => Transactions by Vendor, Enter the Vendor ID 00ABC, Select the Payables Transaction Document and click the Document Number link that will open the Transaction Inquiry window.

Clicking the Description Expansion button would open the related Receivables Document Inquiry window as below


Comments
Post a Comment